In this post I have include basic Photoshop tutorial which will help you in web application development you should know all these basics in order to design a web or you can use these things to make web design attractive.
Step 1: Create a new document and select black as a background color.
Step 2: Create a light source by selecting Filter>Render>Lens Flare and use the following settings:
Step 3: Repeat step 2 with another light source at the top-right
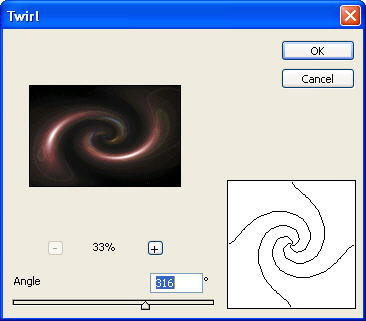
Step 3: Go to Filter>Distort>Twirl to twirl these light sources with a large angle
Step 4: Duplicate the Background by pressing Ctrl-J and go to Image>Transform>Rotate and rotate this new layer 90o
Step 5: Change the blending mode of this layer to Screen
use the Eraser Tool with a soft brush to wipe out the edges of this layer
Step 6: Press Ctrl-E to merge down this layer and press Ctrl-J to duplicate it again then change its blending mode to Overlay. Our image is now more vivid
Step 7: Press Ctrl-E to merge down this layer with the Background layer. Duplicate the Background one more time (by pressing Ctrl-J) and go to Filter>Distort>Glass and use the following settings:
Our image now looks similar to this:
Change the blending mode of this layer to Overlay
You can stop here if you want. But let's make a full spiral, it is simple!
Step 8: Merge down this layer again and duplicate it again then go to Edit>Transform>Rotate 180o
Step 9: Change the blending mode of this layer to Screen to reveal bright areas so that we can see its underlying layer
It's all! This effect is simple but looks wonderful, right?


0 comments to How to Create a Spiral in a Photoshop